This post may contain affiliate links, meaning I may earn a small commission at no extra cost to you if you make a purchase through them. These commissions help support my blog and allow me to continue creating content. Thank you for your support!
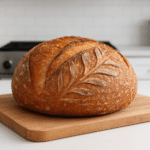
Sourdough bread may feel like a modern wellness trend, but its roots go back thousands of years. In fact, it’s one of the oldest forms of leavened bread, dating all the way back to ancient Egypt, when bakers first discovered that wild yeast and natural fermentation could transform simple flour and water into something nourishing and delicious. Today, sourdough has made a huge comeback—not just for its rustic flavor, but for the real health benefits that come from this time-honored process. From improved digestion to better nutrient absorption and gut-friendly properties, sourdough truly stands apart from conventional bread.
And if you’re feeling inspired, stick around until the end of this article—I’ll be sharing my own personal sourdough recipe so you can enjoy the benefits (and the aroma!) right at home.
Why I Started Eating (and Eventually Baking) My Own Sourdough Bread
My sourdough journey began out of necessity. I had been dealing with ongoing gastrointestinal issues—mainly bloating and intermittent constipation—and eventually realized that regular bread was contributing to the problem. I tried everything from cutting bread out completely (which didn’t last long because I truly love bread!) to experimenting with alternatives like rice, chickpea, and potato-based breads. But nothing satisfied me the way traditional wheat bread did. When I finally gave sourdough a try, I noticed the difference almost immediately. My bloating eased up, and I felt so much more comfortable after eating it. For about a year, I happily bought sourdough from the store… until one day I looked at the price—six dollars in Canada for half a loaf—and decided there was no way I was going to keep paying that! That was the moment I became determined to learn how to bake my own sourdough bread from scratch.

Health Benefits of Sourdough Bre
1. Easier to digest
The reason why sourdough bread is easier to digest and causes less bloating is because its natural fermentation process breaks down gluten and starches before you even take a bite. During fermentation of the dough, beneficial bacteria and wild yeast help ‘pre-digest’ the dough, reducing compounds that commonly cause bloating and discomfort. During this natural process, prebiotics that support gut health are also created and help in supporting gut health. This is why sourdough bread is a gentler option for people with digestive sensitivities. If you struggle with regular bread, switching to sourdough may help you enjoy bread again without the heavy, bloated feeling.
2. Lower Glycemic Impact
During the slow fermentation of sourdough bread, the structure of carbohydrates is modified by natural acids and beneficial bacteria. This leads to a more gradual absorption of carbohydrates and a more gradual rise in blood sugar. This is why sourdough bread is often a better choice for people looking to manage their glycemia, maintain steady energy, or support metabolic health.
3. More Nutrient-Dense
While regular bread contains phytic acid – an anti-nutrient that blocks the absorption of minerals like iron, zinc, magnesium, and B vitamins, sourdough bread does not contain as much. The slow, natural fermentation in sourdough breaks down much of this phytic acid. For anyone looking to get more nourishment from simple, everyday foods, sourdough is a smarter and more wholesome choice.
4. Improves Flavor Without Additives
Sourdough bread boasts a rich, complex flavor thanks to its natural fermentation process, without the need for artificial additives or extra sugar. The wild yeast and beneficial bacteria slowly develop organic acids and natural compounds that give sourdough its signature tangy, slightly nutty taste. This slow, traditional method enhances flavor naturally, making every bite more aromatic and satisfying, while keeping the bread wholesome and free from unnecessary preservatives.
5. Contains Antioxidants
During fermentation, the wild yeast and beneficial bacteria help break down compounds in the flour, releasing phenolic acids and other antioxidant molecules that protect your cells from oxidative stress. These antioxidants may help reduce inflammation and support overall health, making sourdough not just a tasty choice, but a more nourishing one as well. By choosing sourdough, you’re enjoying bread that contributes more than just calories—it offers bioactive compounds that benefit your body at a cellular level.
6. Made With Simple, Whole Ingredients
Most sourdough breads, especially homemade ones, contain just flour, water, salt and a natural starter. This makes it a cleaner; more wholesome option compared to heavily processed bread.
Easy Homemade Sourdough Bread Recipe (No Special Equipment Needed)
When I first started baking my own sourdough bread, I tested many different recipes. It took a few tries before I found a method that was simple, reliable, and produced delicious results—without feeling overwhelmed. In the end, I combined elements from several recipes to create my own easy homemade sourdough bread recipe. Best of all, you don’t need a Dutch oven, baking stone, banneton basket, or mixer. You can use them if you prefer, but they’re not required.
Equipment Needed
- Large bowl (glass preferred but not required)
- Food scale (or measuring cups & spoons)
- Bread pan (optional)
- Dough scraper or spatula
- Fork
- Baking sheet
- Clean dishcloth or plastic wrap
- Sharp knife or scoring blade
Ingredients
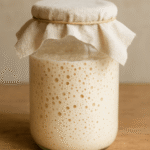
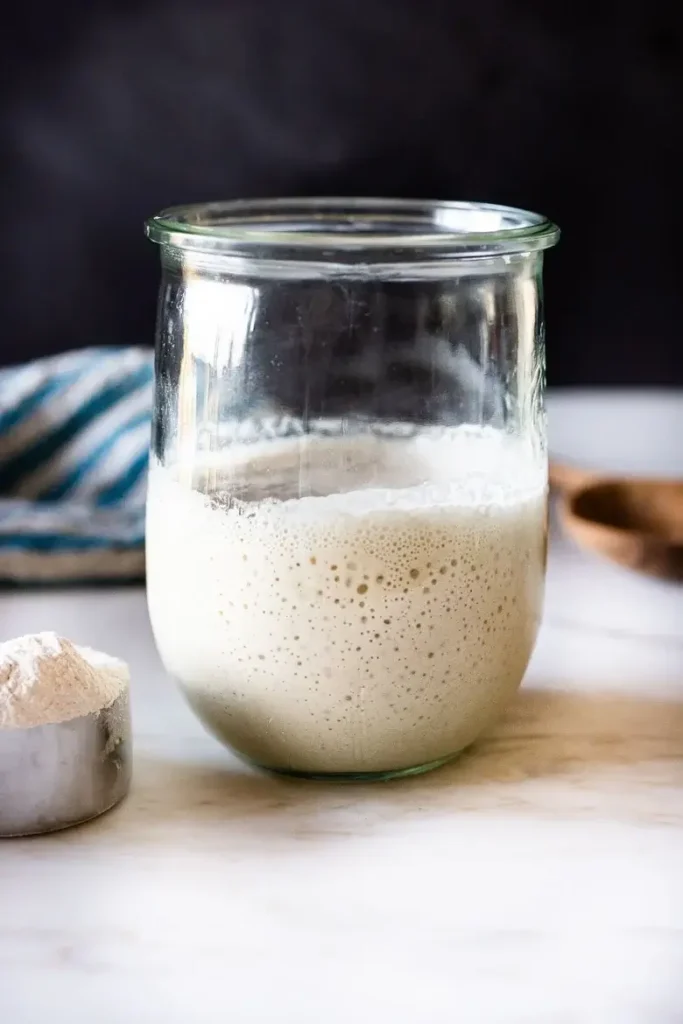
- 100 g (½ cup) bubbly, active sourdough starter (recipe to come)
- 375 g (1 ½ cups + 1 tbsp) warm water
- 500 g (4 cups + 2 tbsp) flour (white, bread flour, or whole wheat—your choice)
- 10 g (1 ½ tsp) salt
Instructions
1. Mix the Dough
- In a large bowl, whisk together the starter and warm water using a fork.
- Add the flour and salt. Mix with a fork, then switch to a dough scraper or spatula to bring the dough together.
- Note: The dough will be sticky—this is normal.
- Cover the bowl with a damp cloth or plastic wrap and rest for 30 minutes.
- If your home is cool, place the bowl in the oven with only the oven light on to gently warm the space.
2. Stretch and Fold (4 Rounds)
Repeat this step every 30 minutes, for a total of 4 rounds (2 hours):
- Wet your hand.
- Grab one edge of the dough, stretch it up, and fold it toward the center.
- Turn the bowl a quarter turn and repeat until you’ve done four folds.
- Cover and rest for 30 minutes before repeating.

3. Bulk Rise
After the final stretch and fold:
- Cover the bowl with a damp cloth.
- Let the dough rise at room temperature or in the oven with the light on only for 2½ hours.
Your dough is ready when it:
- Has increased in size by about 50% (not doubled)
- Shows small bubbles on the surface
- Jiggles when you move the bowl
4. Shape the Dough
- Gently turn the dough onto a lightly floured surface.
- Stretch it into a rectangle and fold the sides toward the center.
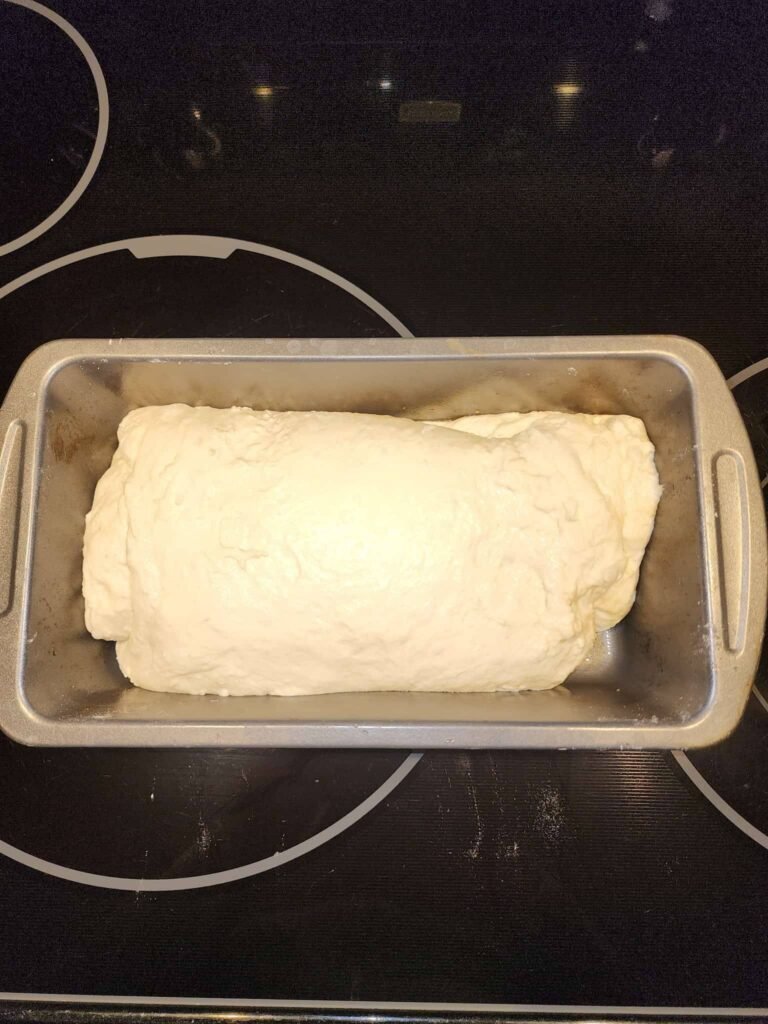
- Stretch again into a rectangle and roll it into a log.
- Place the log into a lightly greased bread pan (olive oil works well).
- Cover with parchment paper and a damp cloth.
- Let the dough rest a couple of hours, until it rises slightly.
5. Cold Fermentation
Leave the covered pan in the refrigerator overnight.
You can refrigerate the dough for up to 48 hours, but baking it the next morning gives the best texture and flavor.
Baking the Sourdough
1. Prepare the Oven
- Place a baking sheet on the bottom rack of the oven (this will be used for steam).
- Preheat the oven to 425°F (218°C).
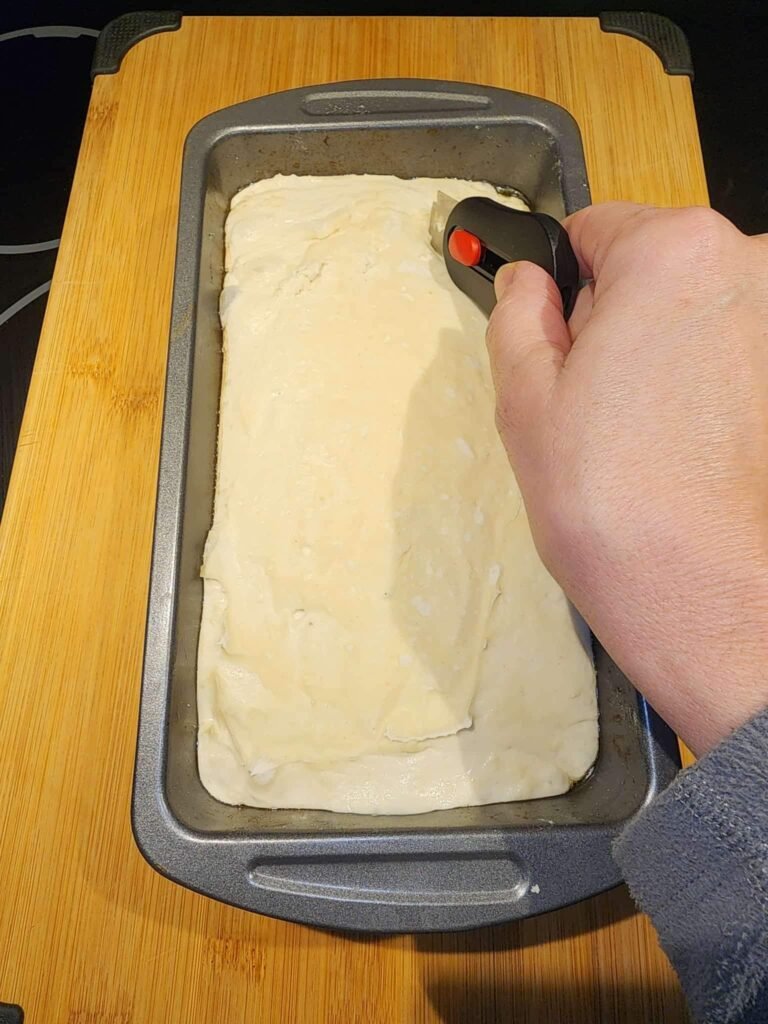
2. Score the Dough
While the oven heats:
- Remove the dough from the refrigerator.
- Remove the parchment paper.
- Score the top with a sharp knife or scoring blade—either a simple straight line or two vertical lines.
- Scoring allows the bread to expand properly as it bakes. I use a small scoring tool that you can purchase here.
3. Create Steam & Bake
- Place the bread pan on the middle rack.
- Carefully pour 1 cup of water onto the preheated baking sheet on the bottom rack, then immediately close the door to trap the steam.
- Bake for 35 minutes.
4. Finish the Bake
- Remove the baking sheet (to stop the steam).
- Reduce oven temperature to 375°F (190°C).
- Bake for another 15 minutes.
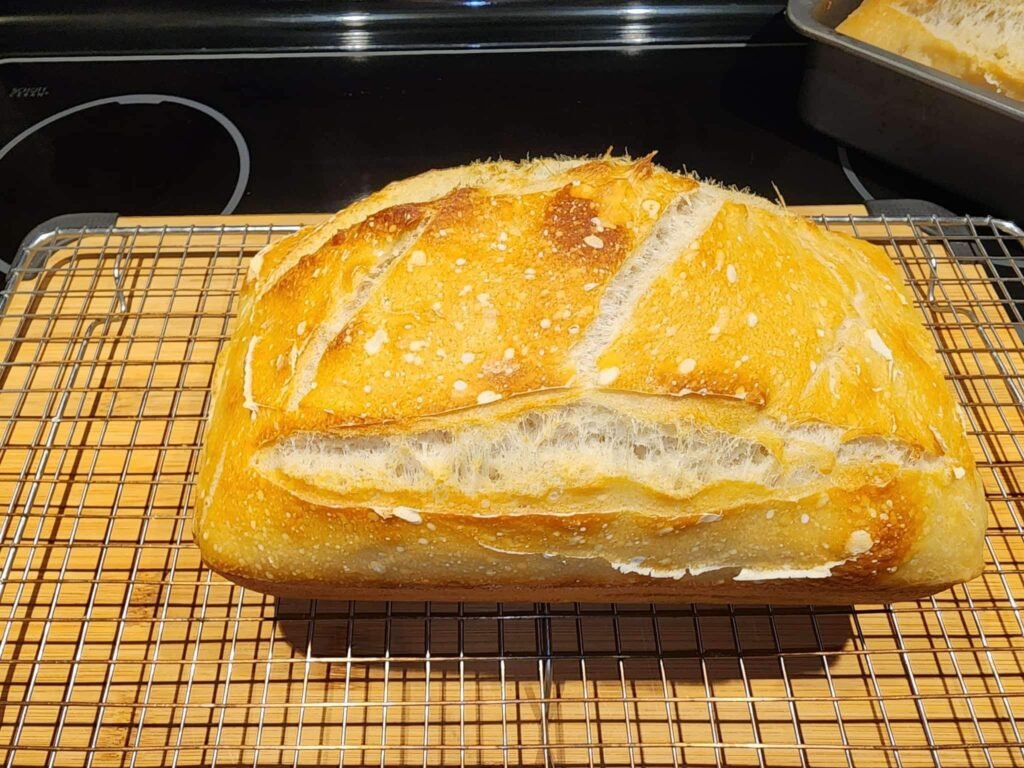
Cooling & Storage
- Remove the bread from the oven and from the pan.
- Cool on a wire rack for at least 1 hour before slicing.
- Store at room temperature in an airtight bag or container for up to 3 days.
- Sourdough also freezes beautifully—just wrap tightly and freeze.
Enjoy!
Nathalie